# AWS
### [Listing of all AWS XRunBooks](https://github.com/unskript/docs/blob/main/connnecting/connectors/aws/broken-reference/README.md)
### [Listing of all AWS Actions](https://docs.unskript.com/unskript-documentation/connnecting/connectors/aws/action_aws)
### Authentication
For the Docker version, we support Access Key based credential.\
In the SAAS version, we accept either the Access Key or Role based authentication:
## Access Key
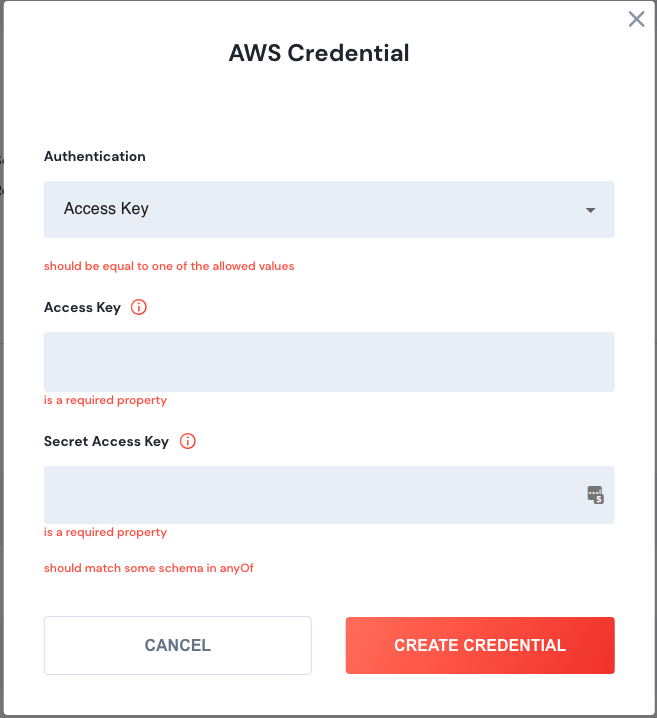
Adding an AWS Access Key to unSkript. When adding a credential to an Action, a dialogue will open to insert your Access Key details.
| Name | Explanation |
| ----------------- | --------------------------------------------- |
| Access Key | Access key ID |
| Secret Access Key | Secret Access Key for the above Access Key ID |
### **Creating AWS Access Keys**
If you do not have an Access Key or a Secret Access Key, you will need to create this in your [AWS dashboard](https://aws.amazon.com/).
1. Once you are logged in, go to Identity and Access Management (search for IAM in the top search bar)
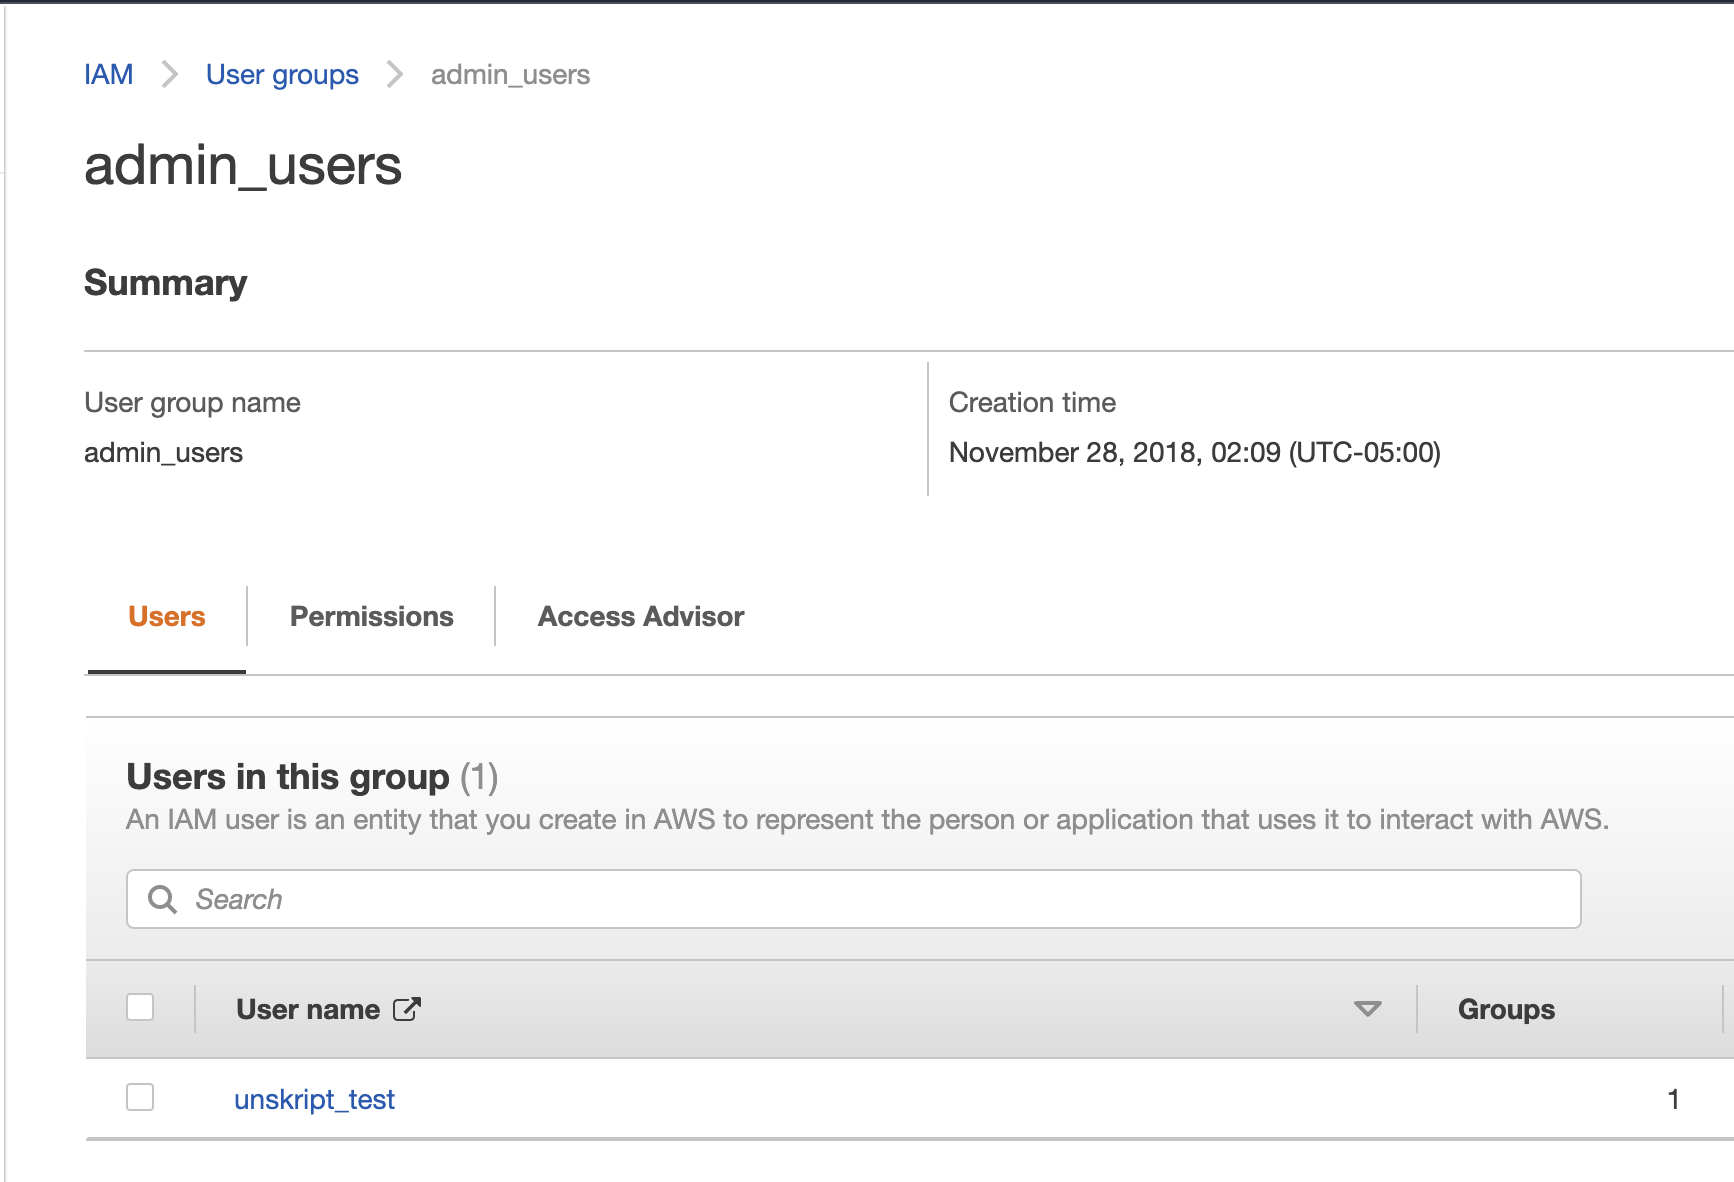
2. If you do not yet have a Group or User with the permissions for unSkript, create this user, and add the required permissions.
List of users on the AWS IAM service
3\. Click on the user. This will open a new browser window with a summary of the user.
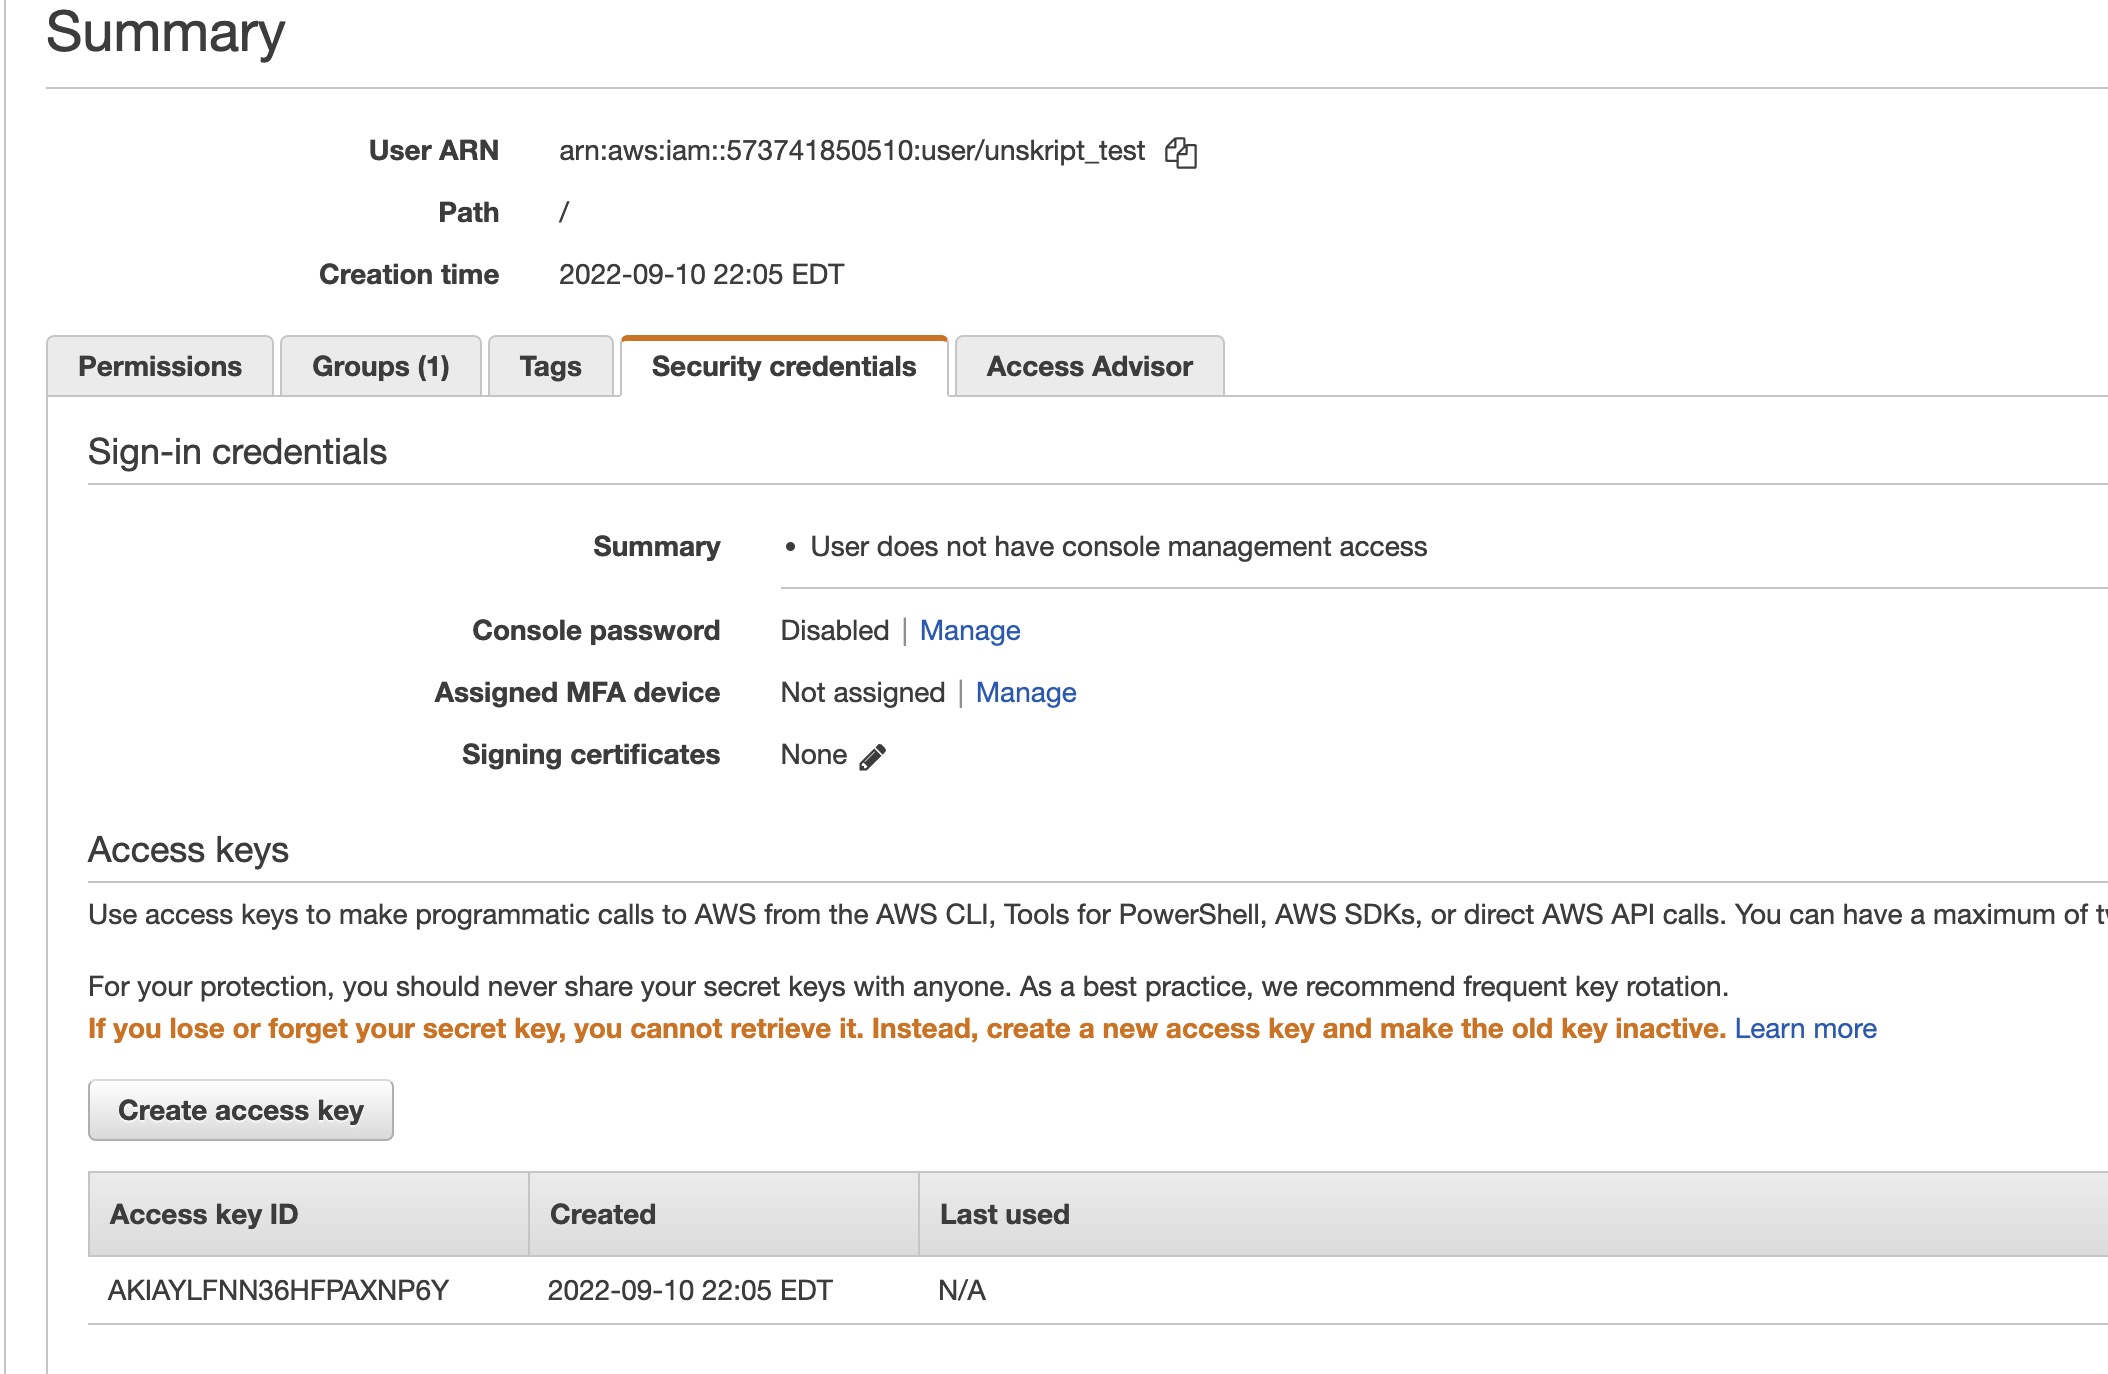
4\. This will open a new window. Select the "Security credentials" tab in the middle of the screen:
IAM user summary with the security credentials tab selected
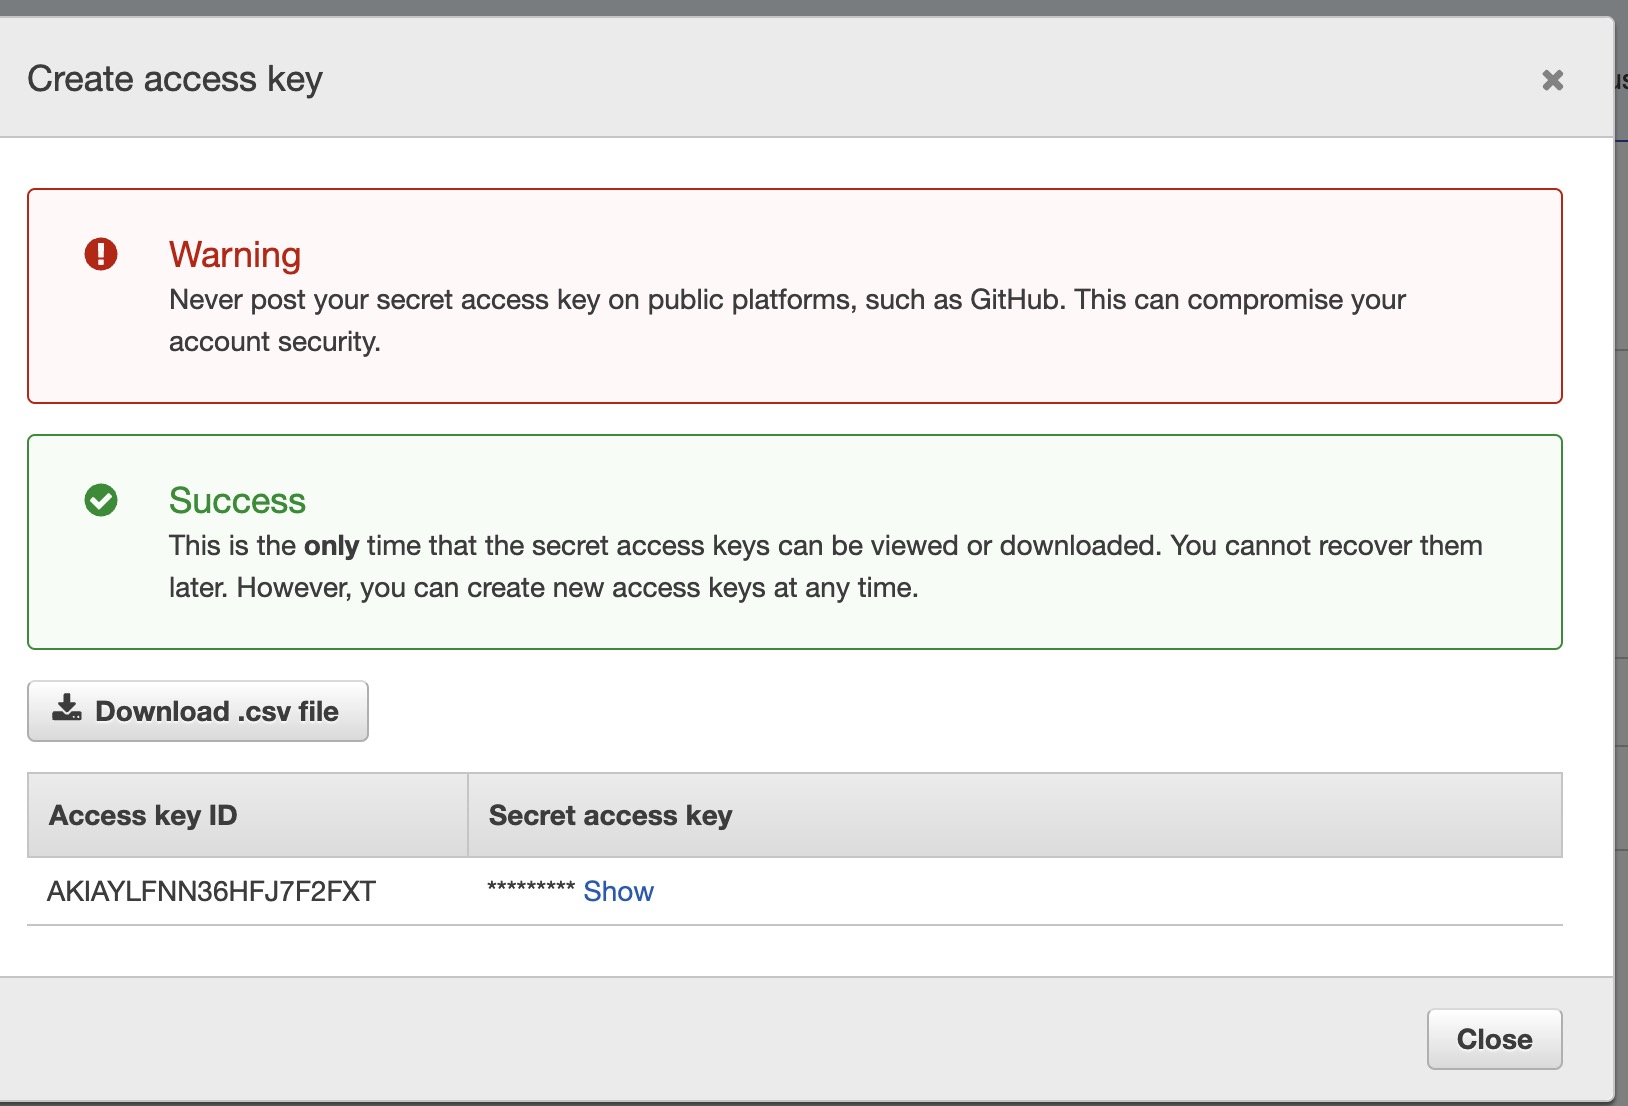
5\. Click "Create access key" . This will generate your key/secret key. Copy them from the page, and insert them into your unSkript credentials.
Screenshot of the key creation window
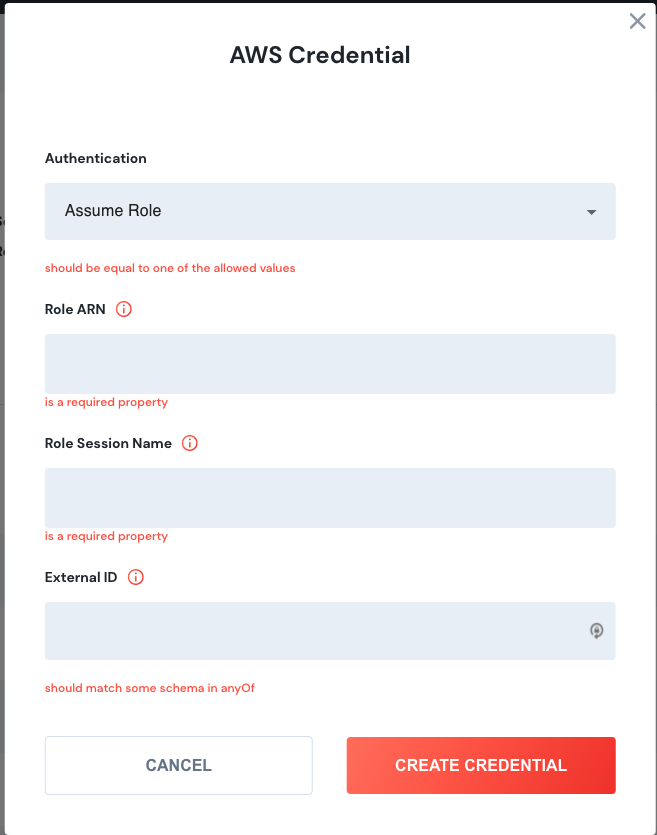
## **Assume Role**
| Name | Explanation |
| ----------------- | ----------------------------------------------------------------- |
| Role ARN | ARN of the role to be assumed |
| Role Session Name | Unique identifier for the session when the above role is assumed |
| External ID | A unique identifier that might be required when you assume a role |
## Create an AWS Cloudwatch Webhook
Your AWS Cloudwatch alerts can be used to start RunBooks or Workflows. This requires a webhook listener in your unSkript installation. These instructions assume you have already created a credential into your Grafana instance.
1. In your unSkript installation, click \*Proxies\* from the top menu.
2. Find the Environment where your AWS credential is stored, and open this proxy.
3. In your list of credentials, find your AWS credential:
4.
```
```
5. In the "webhook URL" column, Click the Generate button.
6. Copy your url/Username and password. These will be available on this page if you need them again.
 (3).png)